Turn your Raspberry Pi into a network wide DNS server for security, privacy and blocking Internet Ads on your private network!
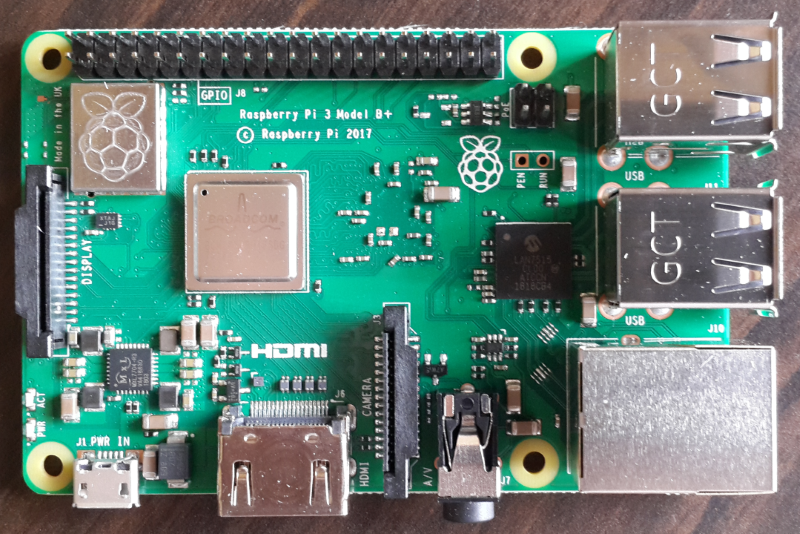 |
| Raspberry Pi 3 Model B+ |
With Technitium DNS Server version 2.2 release, it is now possible to run it on Raspberry Pi (Raspbian Stretch) using .NET Core and we have a single line automatic installer ready to make it easy to get it running.
Install DNS Server
Just connect to your Raspberry Pi using SSH and run the command below to install the DNS server:
curl -sSL https://download.technitium.com/dns/install.sh | sudo bash
You can install the software manually too if you do not wish to directly run the install script. You will need to first manually install .NET Core on your Raspberry Pi and then use these steps to install the DNS Server.
Once the installation is complete, open the DNS Server web console to view the dashboard and customize the settings.
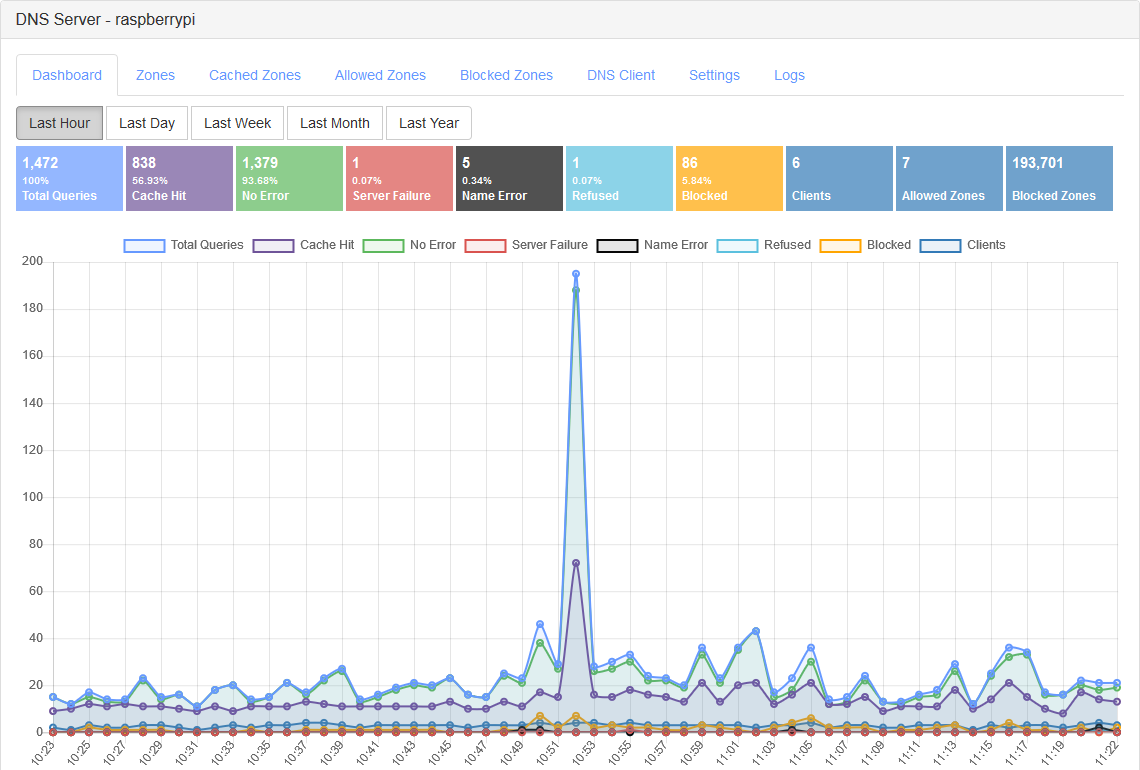 |
| Technitium DNS Server web console on Raspberry Pi 3 Model B+ |
Configure Your Router
To use it as a network wide DNS server, you need to configure your network router's DHCP settings and add your Raspberry Pi's IP address as a custom DNS server. You may also need to configure the WAN settings to override the default ISP provided DNS servers with your Raspberry Pi one. Check your router's manual for the configuration details.
Do make sure that your Raspberry Pi has a static IP address so that it does not change later causing issues with failed domain resolutions on the entire network. Also make sure to install heat sinks for your Raspberry Pi to prevent overheating issues since you will be running it round the clock.
If you have any queries or feedback, do comment below to let me know. You can also email your queries to support@technitium.com.